Tuesday, June 14, 2011

Shepherd's Pie

Rolling back in from vacation I didn't have a lot of food in the house but I did have most of the ingredients to put together a shepherd's pie casserole type dish. This is both hearty and healthy as well as yummy. The peas, carrots, onions, green pepper, and mushrooms give it a lot of pretty color and flavor and the ground turkey with gravy holds everything together. Of course the mashed potatoes on top really help to fill you up too. I added in cheese and horseradish to them for a little extra zing. This is kind of time consuming to put together because of all the chopping but if you do that in advance you can have this on the table in about an hour. 

Shepherd's Pie
10 oz or more Frozen Peas
6-7 Carrots sliced thin
1 1/2 Onions diced
2-3 tablespoons minced Garlic divided
1 Green Bell Pepper diced
8 oz. fresh Portabella Mushrooms diced 
1 Gravy packet or 2 tablespoons Flour
1 1/2 cups (about) Beef Broth
1 lb Ground Turkey
7 red Potatoes diced
2 teaspoons Horseradish
3/4 cup shredded Cheddar Cheese
1/2 cup Sour Cream
1/2 - 3/4 cup Milk
2 tablespoons Butter
Salt
lots of fresh ground Pepper
Oil

In a large pot of salted water bring potatoes to boil and cook until just tender.
Right before mixing
Drain and mash the potatoes with the butter, sour cream, horseradish, and milk until creamy then add in the cheese and one tablespoon garlic and mix. Set aside.

In a large skillet in some olive oil saute onions, mushrooms, two tablespoons garlic, and bell pepper until onions start to become translucent and caramelize - season with salt and pepper.
Onions and peppers before they have been cooked
Add in the ground turkey and cook until browned then sprinkle on the gravy packet or the flour and mix around until everything is coated then slowly pour in the beef broth and bring to a slow boil to thicken.
Gravy, yum!
Mix in the peas and carrots.

Pour into a 13x9 inch pan and top with the mashed potatoes.

Bake at 350 for about 30-40 minutes and let cool for 10 minutes or so before eating.

Serves 8 or more.

Ice Cream Social

Caramel Ice Cream!
My friend and I decided to have an ice cream social on Memorial day and make homemade ice cream. We sat down and picked out some tasty looking recipes and I went out and purchased an ice cream maker and she got the ingredient; then we went to town. The major lesson I learned is that ice cream making is time consuming if you are making multiple batches because the freezer part of the mixer has to be frozen in between every batch, which takes several hours. Also each recipe, after being made, has to be chilled before being put into the ice cream mixer - this also takes several hours. Bottom line, if you are making several ice creams start several days in advance.

My friend sampling the strawberries
Fortunately we started the process on Saturday night so all was well. The first night we made the coffee and caramel recipes and put them in the refrigerator to chill. Then on Sunday we began churning; starting with the coffee ice cream, which firmed up beautifully. Then, while the mixer was refreezing, we made the strawberry daiquiri ice cream recipe and put it in the fridge to chill. That afternoon we froze the caramel ice cream but it didn't firm up as nicely as the coffee ice cream, so after a while I just took it out and put it in the freezer anyway to continue freezing. That worked out pretty well but the ice cream is still on the softer side (but totally delicious).

Sunday evening we went to bike prom, which was awesome! (Pictures here: Beached Miami.) Once we were back from a wonderful night of biking and dancing - we biked around Miami with a sound system attached to a bike stopping periodically to break out into dance - I put the strawberry ice cream in the ice cream maker and froze it until it was the consistency of soft-serve then spooned in into containers and put it in the freezer to continue hardening.

Monday afternoon arrived and all our guests began to enjoy the ice creams! Definitely a solid hit and worth the effort to make! Also, a lot of fun.

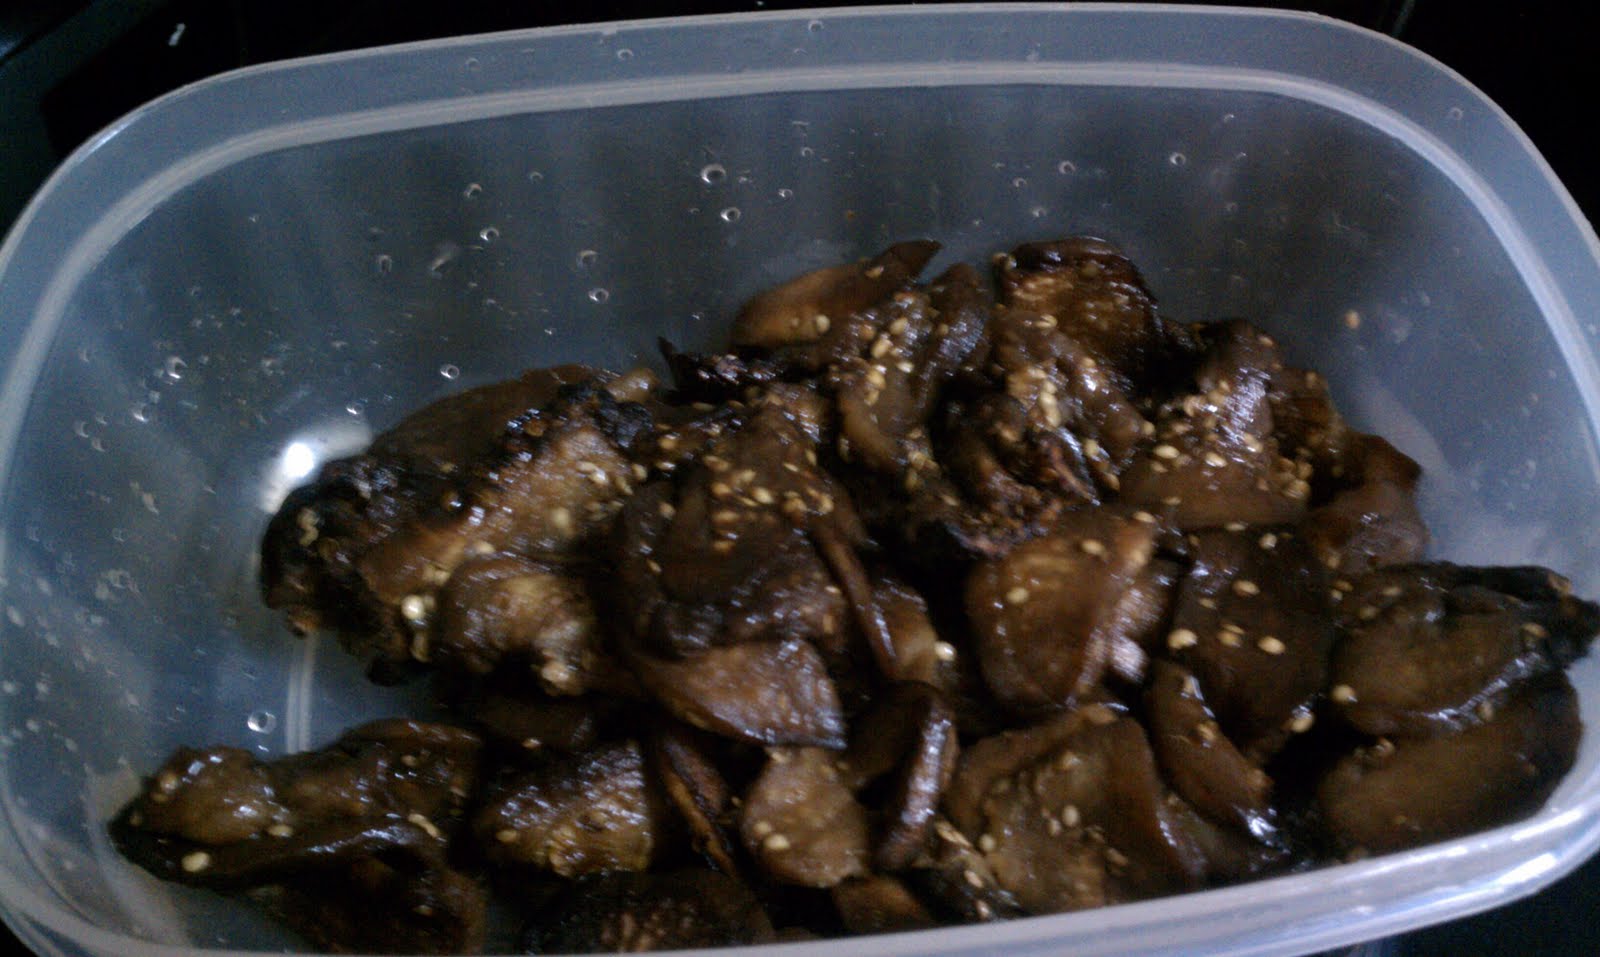
My personal favorite in terms of flavor was the caramel ice cream - it was exactly the way caramel should be. The coffee was a close second in terms of flavor, though I next time I would make stronger coffee, and it definitely had the best texture: perfectly smooth and creamy. The strawberry was really popular with everyone, but I ended up not liking the lime flavor as much as I had hoped too - still everyone else seemed to think it was awesome so don't let that dissuade you.

Enjoy creating all of these recipes:

Salted Caramel Ice Cream (taken pretty much verbatim from Cherry Tea Cakes Blog)

1 1/4 cups Sugar divided
2 1/4 cups Heavy Cream divided
1/2 teaspoon Sea Salt
1/2 teaspoon pure Vanilla extract
1 cup whole Milk
3 large Eggs

Caramel:
Heat 1 cup sugar in a dry large heavy skillet over medium heat, stirring to heat sugar evenly until it starts to melt.
It should clarify like this and not be milky
Do not stir after this point, only swirl the skillet occasionally so sugar melts evenly, until it is dark amber. This is important!!! If you stir it it globs onto your spoon and crystalizes (I know cause that is what happened to me).

Add 1 1/4 cups cream (mixture will spatter) and the rest of the sugar and cook, stirring, until all of caramel has dissolved, and the mixture is thoroughly combined.
Caramel after cream has been added
Pass mixture through a fine mesh sieve. Transfer to a bowl and stir in salt and vanilla. Cool to room temperature.

Creamy part of ice cream:
Meanwhile scald milk and remaining cream.


In another bowl whisk eggs for a minute or two and then add in the scalded mixture in a slow stream. Let it run down the side of the bowl on a low speed (This prevents the hot milk from scorching the eggs I expect).
Adding the milk to the egg mixture
Pour combined mixture back into the saucepan and cook over medium heat, stirring constantly with a wooden spoon, until custard coats the back of the spoon.

The final part:
Pour custard through a fine mesh sieve into a large bowl, and then stir in cooled caramel.

Chill custard, stirring occasionally, until very cold, about 1 hour in the freezer (I had to do this for two hours and it was still hella soft).

Freeze custard in ice cream maker according to manufacturer’s instructions (it will still be quite soft - kind of like a semi-melted shake); then transfer to a suitable freezing container and put in freezer to firm up. This ice cream will remain very soft even after freezing. Lower the temperature of your freezer if necessary to fully harden. FYI: It took at least 8 hours for this to harden in my freezer.

Makes about 1 quart, maybe a little more.

Creamy Coffee Ice Cream (taken directly from Not Eating Out in NY with a few additions to the directions)

1 1/2 cups heavy cream
1 1/2 cups milk
3 egg yolks
2 whole eggs
3/4 cup sugar
1/2 cup the strongest coffee you’ve ever made in your life (it should really be espresso strong)

Combine eggs, yolks and sugar in a bowl and blend thoroughly with a whisk or electric beater for about 5 minutes (mixture should thicken and turn a lemony yellow).

Heat milk and cream in a medium saucepan; do not let boil, just “scorch” it until it is near-boiling hot. Turn off heat.

Very slowly pour in one cup of the hot milk mixture into the egg mixture, beating rapidly with a whisk. Once it is all beaten in, pour the egg mixture into the saucepan with the milk mixture while beating, then add in the coffee. Heat at about medium low, stirring constantly, for a few more minutes or until the consistency is thick enough to coat the back of a spoon when dipped in. Turn off heat.
Ours looked kind of "chunky" for some reason but turned out totally smooth
Pour mixture into a bowl and cover with plastic wrap placed directly on the surface of the liquid (this prevents a "skin" from forming). Chill overnight or until completely cool. Pour mixture into ice cream maker and follow machine’s directions for how long it should churn.

Recommended: freeze for 2 hours before serving. Store in an airtight container in the freezer.
As you can see everyone really liked this one
Makes about 1 quart.

Strawberry Daiquiri Ice Cream (taken from The Way the Cookie Crumbles)

1 cup sugar divided
2 limes zested
Pinch salt
1 1/2 cups half-and-half
1 1/2 cups heavy cream
4 yolks
1 1/2 cups (16 ounces) strawberry puree
1/4 cup lime juice (2 limes)
2 tablespoons rum

Pour the cream into a large bowl; set a fine-mesh strainer over the bowl and set aside.

In a separate medium bowl, beat the egg yolks with the remaining 1/2 cup of sugar.
Sugar and eggs before mixing
In a medium saucepan, rub the lime zest into 1/2 cup of the sugar until fragrant.
Sugar and lime zest pre-rubbing
Add the half-and-half and heat the mixture over medium-high heat until it simmers.

Once the half-and-half has simmered, very slowly pour it into the beaten egg yolks, whisking constantly. Pour the mixture back into the pot and bring just to a simmer over medium heat, still whisking constantly.

Pour through the strainer into the bowl with the cream; stir to combine.


Then mix in the strawberry puree, lime juice, and rum.
This looks so pretty!


Chill until cold, at least 4 hours or overnight.

Freeze the ice cream custard in your ice cream maker according to the manufacturer’s instructions. Once frozen to the consistency of soft serve ice cream, transfer the ice cream to freezer container and freeze until firm. This may take several hours (I would bet on overnight or at least 6-8 hours).

Makes about 1 quart.

Wednesday, June 1, 2011

Roasted Eggplant

The texture and taste of this eggplant is as unusual as it is awesome. The slices of eggplant had a texture similar to the apples in an apple pie and they soaked up all of the flavor of the balsamic vinegar.

This makes a great simple side dish to accompany almost anything although I ended up eating all of it for dinner one night. :)

Enjoy!

Roasted Eggplant
1 Eggplant halved and sliced a 1/4 inch thick
4 tablespoons Balsamic Vinegar
4 tablespoons Olive Oil
2 tablespoons Brown Sugar
In a large bowl mix together balsamic vinegar, olive oil, and brown sugar.

Toss in the eggplant and stir around until thoroughly coated.


Put into a 9 inch pie plate and bake at 375 for about 20-30 minutes (until eggplant is softened and the top has started to brown), stirring once of twice. Serves 4 as a side dish.


Wednesday, May 25, 2011

Classic Banana Bread

I think just about everyone has a recipe for banana bread, but even if you do you should give this one a try. It is just perfect: dense, banana-y, sweet but not overpowering, and packed with pecans. Also, it takes all of 15 minutes to mix everything together and presto you have a sweet treat to eat or give away.

As always this is a great way to use up blackened overripe bananas (which I usually toss in the freezer to preserve if I don't feel like making banana bread). I bake mine in a tube pan because I have never gotten around to buying a loaf pan. I am sure this would turn out just fine in a bread pan but it might take a little longer to bake.

Classic Banana Bread
1 3/4 cups Flour
1 1/2 cups Sugar
1 teaspoon Baking Soda
1/2 teaspoon Salt
2 Eggs
2 blackened (overripe) bananas mashed
1/2 cup Vegetable Oil
1/4 cup plus 1 tablespoon Buttermilk (you can easily substitute curdled regular milk by adding in a tablespoon or less of vinegar to plain milk)
1 teaspoon Vanilla
1 cup Pecans chopped
In a bowl mix together dry ingredients and set aside. 


Dry ingredients

Combine mashed bananas, eggs, oil, vanilla, and buttermilk.

Wet ingredients

Add in the dry ingredients and mix until all is combined. Stir in the pecans.

Pour into a greased tube pan.

In the tube pan

Bake at 325 degrees for about 1 hour and 10 minutes checking on the hour to make sure it doesn't get overdone (bread is done when a knife inserted into the middle comes out mostly clean - with only a few sticky crumbs).

Final product

Saturday, May 21, 2011

Fresh Salsa

I made salsa for the first time a few weeks ago and the results were ok but not great. This time around I added in another tomato, used more peppers, and took out the cilantro (I still don't like the flavor it imparts) and I am quite pleased with the results. Very simple to make but it does taste a lot better if it sits and marinates for a day.

Having sampled it again a few more days later - it is really excellent. The hotness and flavor from the peppers really come out.

Enjoy the heat!

Fresh Salsa
3 Tomatoes finely chopped
1 Onion finely chopped
4-5 Serrano Peppers finely chopped
1 1/2 tablespoons minced Garlic
1 teaspoon Salt
1/2 Lime juiced
Mix together all ingredients and chill for a day (if possible) before serving. Makes a huge bowl that would be perfect for a party.

Monday, May 16, 2011

Curried Chicken Salad

All the tasty ingredients!
This chicken salad is the bomb. I was inspired by a curried chicken salad I had years ago in Chicago at a restaurant/non-profit called First Slice. They have a small restaurant that also serves food to homeless people and others who are experiencing hard times.

The chicken salad there was delicious, but it took me this long to get around to recreating it. The addition of yogurt helps keep the salad from being to sweet and also harkens back to cooked curries, where yogurt is a frequent ingredient. This is really a simple salad to through together and is great to take on picnics, make sandwiches with, or just to snack on plain. I made it a few weeks ago when my partner's folks were in town - we went to the everglades and picnicked - and they really loved it.

Enjoy!

Curried Chicken Salad
3 cooked Chicken Breasts chopped
4 Carrots grated
3 Celery Sticks chopped
4-5 teaspoons Curry Powder
1/2 - 3/4 cup dried Cranberries
3/4 cup Greek Yogurt
3/4 cup Miracle Whip
Salt
Pepper
Sprinkle raw chicken breasts with salt and pepper and bake at 350 for about 30 minutes until chicken is done. Once chicken is done, chill the chicken breasts and then chop them up.

Ingredients assembled
Mix together the chopped up chicken with the carrots, celery, curry powder, cranberries, yogurt, and miracle whip.

Finished product on a sandwich
Store the chicken salad in the fridge and spread on your sandwiches at will. Makes about 8-10 sandwiches.

Sunday, May 15, 2011

Sweet Potato Salad

Went for a long ride out to Key Biscayne, about 45 miles total, on Saturday with Emerge (a Miami cycling group) and we had a picnic so I made this salad to take. Everyone loved the taste of sweet and tangy, and the sweet potatoes were the perfect vehicle for the flavors. I made it the night before because I wanted it to chill and marinate, but you could probably make it just a few hours ahead of time too.

The original recipe called for boiling the sweet potatoes, but I baked them instead because I have tried that before. Word to the wise: boiled sweet potatoes are gross. The texture is off and the flavor is weird; overly starchy and still kind of "raw" tasting.

I actually forgot to put in the pecans before I was out the door but am sure they would be a nice addition to the salad.

Sweet Potato Salad (adapted from a Taste of Home recipe)
2 lb. Sweet Potatoes (about 3-4) cubed
1/3 cup dried Cranberries
2-3 tablespoons Orange Juice (use a fresh orange)
1-2 teaspoons Orange Peel
3 Celery Stalks diced
1/2 teaspoon ground Ginger
1/2 teaspoon ground Nutmeg
1/2 teaspoon ground Cinnamon
1 tablespoon Brown Sugar
1/2-3/4 cup Mayonnaise
1/2 cup Pecans chopped
Note: Spices are approximate - I just sprinkled them on the sweet potatoes
Toss cubed sweet potatoes with ginger, nutmeg, and cinnamon and bake on a large ungreased pan at 410 degrees (turning over potatoes about 2-3 times so they don't stick) for about 20 minutes or just until the potatoes become slightly soft (not super soft though or they won't hold up in the salad).

Celery and orange peel
While potatoes are cooking mix together orange peel, orange juice, brown sugar, dried cranberries, and celery.

Orange after peel has been grated off
Once potatoes are done toss in with all the other pre-mixed ingredients and add in the mayonnaise. Chill for at least a few hours. Add in the pecans right before serving. Makes about 6 servings as a side dish.

Sunday, April 10, 2011

Fresh Basil Stuffed Chicken Breasts (in a Mushroom Sauce)

Tastiness
Finally got around to purchasing a fresh basil plant yesterday and after I was done potting it I decided that I must make something with my newly acquired herb.

the chopped up basil
As luck would have it chicken breasts were on sale at Publix's (something that almost never happens) so I thought I would make stuffed chicken breasts; a dish that looks fancy but is actually quite easy to put together. These chicken breasts were phenomenal - fresh basil absolutely rocks! I put a lot in because I like the flavor of basil but if you want you could put less in for a more subtle effect.

A note on cooking chicken: When making chicken breasts I never cook them as long as the government recommends (till they are 170) because if you do your chicken will be tough, dry, and nasty. Once the chicken looks done (i.e. no pinkness when cut into) and the juices coming from it are clear it is done and I have never gotten sick from eating it that way.

Enjoy!

Fresh Basil, Cream Cheese, and Garlic Stuffed Chicken Breasts
3 Chicken Breasts
3 oz. Cream Cheese
Small hand full of Fresh Basil (about 3 tablespoons chopped)
2 teaspoons minced Garlic
1/4 cup fresh Spinach chopped
Salt and freshly ground Pepper to taste
Butter
In a small bowl mix together the cream cheese, basil, garlic, and spinach with a dash of salt and set aside.

Cream cheese filling
Cut a deep slit in the chicken breasts (big enough to stuff the cream cheese mixture into) but don't cut all the way down from one side to the other or all of the filling will ooze out.

Exhibit A: slit in chicken breast

Exhibit B: slit chicken breast

Chicken breast laying flat after being slit
Then fill the chicken breasts with the cream cheese mixture and place in a large buttered skillet over medium heat and brown on both sides. After both sides are browned turn heat down to medium-low and cook covered for about 20 minutes, flipping once.

Chicken cooking
Take lid off of skillet and continue cooking for about another 10-20 minutes (until chicken juices run clear or a meat thermometer registers around 155).

Note: If the chicken starts to dry out while cooking uncovers just replace the lid so that everything steams up again. Also, it is normal and in my experience unavoidable for some of the filling to leak out of the chicken; it's not really a problem and just ends up making a natural "sauce" for the chicken. Let the chicken rest (covered) for about 10 minutes before serving.

Done Chicken
While chicken is in its final stages of cooking you can prepare the sauce that goes over it:

Mushroom Onion Sauce
1 6 oz. container Sliced Portabella Mushrooms coarsely sliced
1/2 of an Onion diced
1 tablespoon Flour
Approximately 1 1/2 cups Chicken broth
Salt and freshly ground Pepper to taste
Olive Oil
In a large oiled skillet over medium heat saute mushrooms and onions for about 7 minutes or until onions are translucent and mushrooms are starting to brown.


Then turn heat down to medium-low and sprinkle flour, salt, and pepper over the pan and mix in with the mushrooms and onions. Slowly pour in the chicken broth until you had enough for a sauce (this is up to you - depends on how much sauce you want) and cook until thickened; about 3-4 minutes.

After broth is added

Tuesday, April 5, 2011

Egg in Toast

Nom nom!
It really doesn't get much simpler than this breakfast. The name aptly describes it. You literally cut a hole in the bread (I use a shot glass) and crack an egg into it so that there is an egg in the toast. If you have ever seen V for Vendetta, one of my favorite movies, you will remember the scene when V is making Evey breakfast and he makes her egg in toast.


That is where I got the idea to make this meal. As I understand it it is a standard English breakfast dish and after making it the first time I can see why. There is something about having the toast cook in the frying pan in the butter with the egg that makes it taste so much better than normal toast. I added the shredded cheese and salsa to contribute that extra zip I love so much.

Anyway, aside from a bowl of cereal it doesn't get much simpler or tastier than this for a breakfast dish!

Enjoy!

Egg in Toast

2 Eggs
2 pieces of Bread
Salsa
Cheddar Cheese shredded
Salt
Fresh ground Pepper
Butter
Cut the center out of the bread with a large shot glass. Then place bread in a buttered and hot frying pan over medium heat. Crack an egg into the center of both pieces of bread and sprinkle with salt and pepper then cook on one side for a few minutes then flip over and cook on the other side until egg has set. While egg is setting sprinkle cheese on the top of the bread so that it melts. Once egg is done take the egg in toast out of the pan and top with salsa if you wish.