Tuesday, December 28, 2010

Feather-Light Muffins

Warm and cinnamony!
These muffins are so yummy. They are lightly spiced, and after you bake them they are dipped into melted butter and swirled in cinnamon sugar! I found this recipe in an issue of Reminisce, I believe, it's hard to remember because it was so long ago.

I don't have muffin tins so I just plopped the dough onto a cookie sheet and it still baked up fine, they just looked more like scones than muffins.

Definitely serve these warm! Enjoy!

Feather-Light Muffins
1/3 cups Butter
1/2 cup Sugar
1 Egg
1 1/2 cups Flour
1 1/2 teaspoons Baking Powder
1/2 teaspoon Salt
1/4 teaspoon Nutmeg
1/2 teaspoon Cinnamon
1/2 cup Milk
Topping
1/2 cup Sugar
2 teaspoons Cinnamon
1/2 Butter melted
Cream butter and sugar together in a mixing bowl, then add egg and mix in well. Combine the dry ingredients in a separate bowl and add to the butter mixture alternately with the milk. If you have a muffin tin put the batter into the greased muffin tin (make 8-10 muffins). If you don't have a muffin tin, grease a cookie sheet and drop the batter into eight blobs. Bake at 325 for approximately 20 minutes or until the center is done.

While the muffins are cooking place the melted butter in a shallow bowl and place the cinnamon and sugar in a shallow bowl as well (mix the cinnamon and sugar together).

Once the muffins have baked dip them (while still hot) in to the melted butter then into the cinnamon sugar to coat. Serve while warm for best result or reheat for later.

Chili

Yesterday I made a huge pot of chili in preparation for the group of friends about to descend upon my apartment. They are all coming down from the great white north (Michigan, where I and my partner are from) for New Years and I am so excited! However, they are all guys and they eat like pigs, hence the chili.

I love chili, it is probably my favorite food with meat in it. It is so spicy and complex, perfect for a cold day. I have been making chili forever and continually tweaking my process - I won't say recipe, since the closest thing I have to that is a list of spices I always put in to it. When I made chili yesterday, I thought about trying to write down the amounts of everything for this blog but in the end I just couldn't. It is one thing I am really not sure how to write a recipe for. It is the kind of food where you start with the base ingredients and then you just add shit in from there. Tasting along the way until its right.

So, I am going to give a partial recipe and let you explore the rest (i.e. the spices) until you find a combination you are happy with. That is pretty much what I do with everything I cook and I really encourage you to do it with any recipe of mine you try because everyone's tastes are different - you may discover you have a favorite spice that you like to see in your cooking that i don't use or something.

Chili
3 lb Lean Ground Beef
2 15 oz cans Kidney Beans
3 15 oz cans Diced Tomatoes
6 (or more) Jalapeno Peppers diced
3 Onions diced
1 tablespoon chopped Garlic
1 bottle Chili Sauce (should be in the isle with ketchup and such)
2 packets Chili seasoning (Consider going with the name brand for this as it usually has less filler)
1-2 teaspoons powdered Mustard (can use prepared mustard instead)
1-2 tablespoons Cumin
2 teaspoons Worcestershire Sauce
Couple shakes of Tabasco Sauce
1-2 tablespoons Brown Sugar (it balances the spiciness)
All spice measurements are approximate
Put kidney beans, diced tomatoes and chili sauce in a large pot and put on medium heat. Meanwhile brown ground beef and add chili spice packets to it along with the chili powder, cumin, and mustard. While beef is browning chop up the onions and peppers. Once beef has browned add to the pot then saute the onions, peppers, and garlic until clear and browned; add to the pot. Put in brown sugar, tabasco sauce, and worcestershire sauce into the pot. Taste and modify to your liking. Continue cooking for at least an hour, preferably two or more as the cooking really enhances the flavors and makes a thick chili. FYI, if you decide not to use the spice packets you should add salt, but if you use the packets you don't need any salt as they have plenty.

Sunday, December 26, 2010

Creamy Fruit Salad

This fruit salad recipe is a tried and true favorite, as I have been making it since I was a teen. This time I made it for a Christmas brunch at my friend's house and it went over really well. The brunch was tons of fun and we ended up staying all day playing cards and scrabble, all in all, a very satisfying Christmas day.

The salad is really simple to make, doesn't take a lot of time and you can make it in advance (since it chills overnight). All really nice features when one is preparing for the holidays! It is pretty flexible; this version is really a slightly modified doubling of the original recipe and it still came out fine. I would assume that you could substitute other types of fruit if you prefer, but I wouldn't recommend hard fruits like apples because it would be a weird texture - this salad is pretty soft. Also, if you don't like marshmallows you could probably substitute cooked white rice. (I think rice in these kinds of salads is gross but I know that lots of other people prefer it, so it is something to try.)

Enjoy this salad!

Creamy Fruit Salad
1 20 oz can Pinapple Tidbits
1 15 oz can Mandarin Orange Slices
1/4 cup Pineapple Juice (or water)
6 tablespoons Lemon Juice
2 tablespoons Water
2 (3 oz) packages cook and serve Vanilla Pudding
2 cups miniature Marshmallows
2 cups Whipped Topping
2 Bananas sliced
Drain pineapple and mandarin orange juices into a medium saucepan and add in the extra pineapple juice, water, and lemon juice. Stir pudding mix into the saucepan and heat (stirring constantly, as pudding has a tendency to get lumpy) on medium until mixture comes to a full boil. Pull off of heat and let sit until cooled. Once cooled mix in the pineapple, mandarin oranges, and marshmallows; then gently mix in the whipped topping. Chill overnight in a covered bowl. Fold in the sliced bananas right before serving (the bananas brown if you put them in the night before).

Serves about 10 people.

Thursday, December 16, 2010

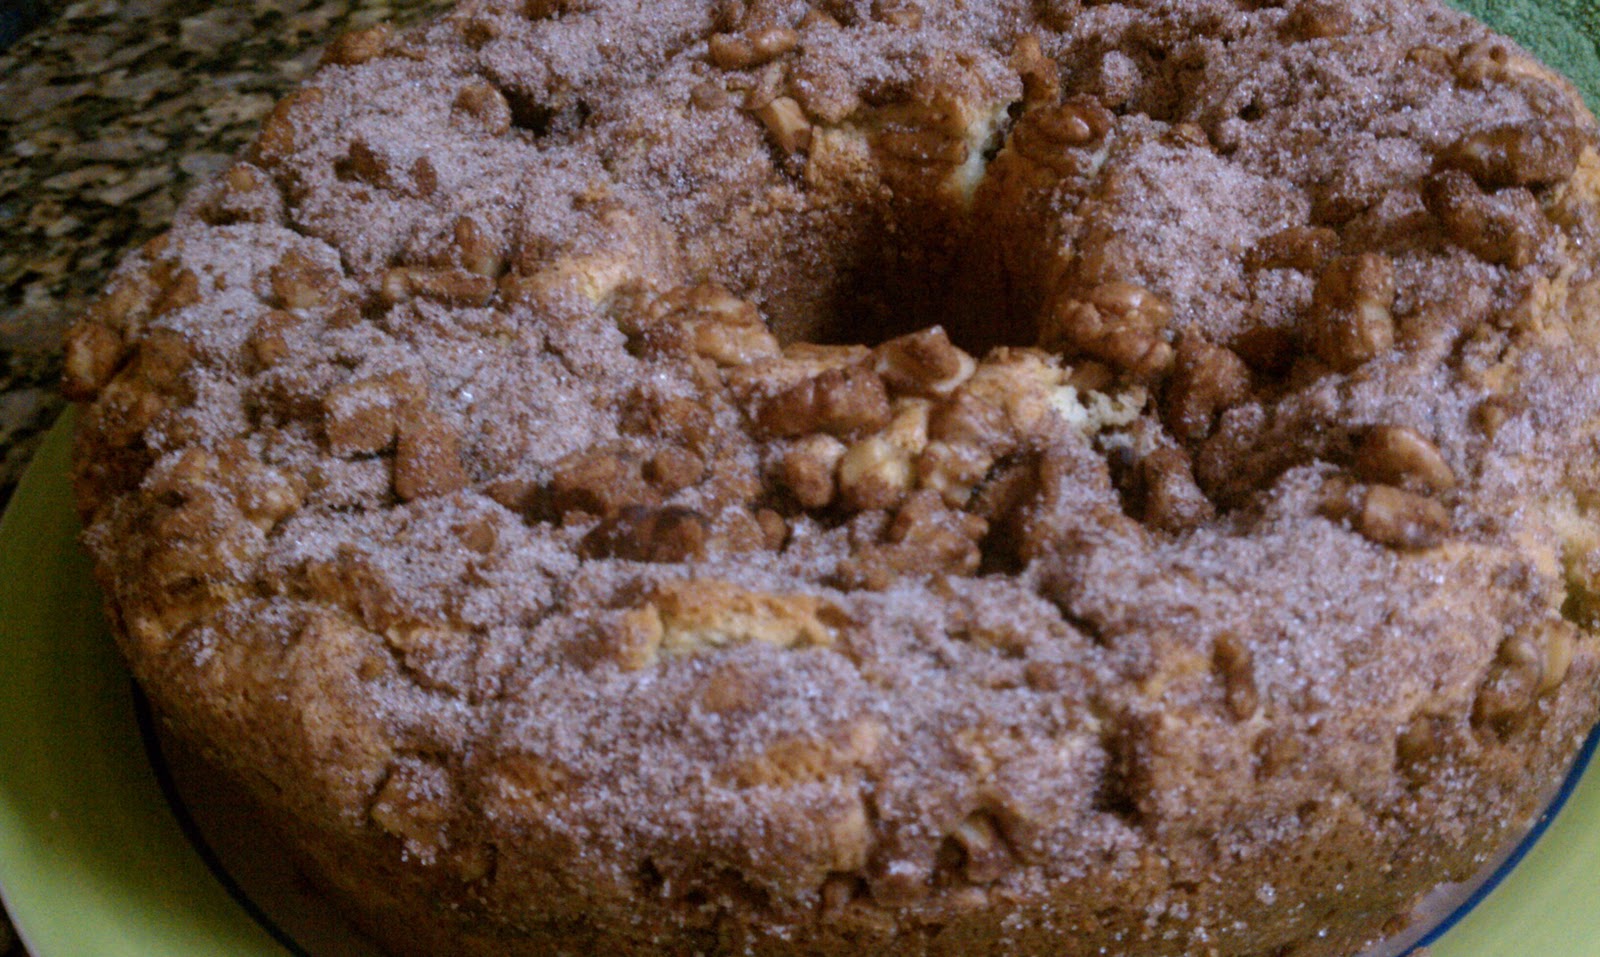
Apple Cream Coffee Cake

This is such a moist toothsome coffee cake! It is great for brunch or as a snack any time of the day. This is a really simple coffee cake to make, no yeast dough to worry about and it bakes in 40 minutes. I have had good luck substituting other fruits in the filling, this time around I used pears. You could also probably substitute yogurt (preferable greek since it is thicker) for the sour cream if you don't have any sour cream on hand. I have also left out the nuts when I didn't have any on hand and no one ever complains because the cake stands well on its own.

This will be my last post for a week or so because I am heading up to northern Florida to go on a camping/bike trip. We will be covering 327 miles on our bikes, touring the springs and camping in that area! I am excited.

Happy baking while I am away!

Apple Cream Coffee Cake
Topping
1/2 cup Pecans
1 tablespoon Ground Cinnamon
1/2 cup Sugar
Batter
1/2 cup Butter softened
1 cup Sugar
2 Egg
1 teaspoon Vanilla
2 cups Flour
1 teaspoon Baking Powder
1 teaspoon Baking Soda
1/2 teaspoon Salt
1 cup Sour Cream
2 Apples sliced thin
butter, eggs, and sugar
Combine toppings in a small bowl and set aside. In a large mixing bowl cream butter and sugar together, beating until light colored and fluffy. Add in eggs and beat until mixture has thickened a little (from the eggs) then add in the vanilla. Combine the dry ingredients in a small bowl and add to the creamed mixture alternately with the sour cream, mixing well after each addition. Spread half the batter into a greased 10 inch tube pan with a removable bottom. Sprinkle half of the topping onto the batter and top with all of the apple slices then put the rest of the batter evenly on top and sprinkle with the remaining topping. Bake at 375 degrees for about 40 minutes or until cake tests done when you stick a knife into it (knife should come out clean, with only a few crumbs not with uncooked batter).

About to go into the oven
Remove from the oven and let rest for about 30 minutes then remove from the pan and cool completely. Serve!

Soft and Chewy Caramels

These caramels are the best! I absolutely love them, they have the perfect texture and taste. I also like to make pecan turtles with some of the caramels, and those instructions are below the recipe for the caramels.


Soft and Chewy Caramels
2 cups Sugar
1 cup Light Corn Syrup
2 cups Half-and-Half Cream, divided
1 cup Butter
1 teaspoon Vanilla
Line a 13x9 inch pan with waxed paper and butter the paper (or use a glass pan and butter that), then set aside. Put sugar, corn syrup, and 1 cup cream into a large saucepan (5 qt.) and bring to a boil over medium heat while stirring constantly. Slowly stir in remaining cream. Continue cooking over medium heat, while stirring constantly, until candy reaches hard-ball stage (250 degrees) then remove from heat immediately. Stir butter and vanilla into sugar mixture until mixed completely together (takes a few minutes) then pour caramel into buttered pan. Cool and cut into small pieces. Wrap candy in small pieces of waxed paper if desired.

Pecan Turtles
at least 8 oz semi-sweet or milk chocolate
6 oz bag Pecan halves
To make turtles, put pecans in the bottom of the buttered pan and pour caramel over them. Once caramels are cooled and cut into pieces put the pieces on waxed paper and pour melted chocolate over them. Let the chocolate set for a few hours and then the turtles will be ready to serve.

Makes about 2 pounds of candy.

Wednesday, December 15, 2010

English Toffee

Yummy, yummy toffee pieces
This toffee is so rich and buttery, exactly how toffee should be. I always make it around the holidays to give as a gift and for guests to snack on. Candy making during the holidays is a tradition for me, starting when I was a teenager and I would get together with a friend of mine to make different candies. I hope you enjoy making this, and the other candies I will be posting, as much as I have over the years.

A quick note on candy thermometers: I have never had the best of luck with them and prefer to check my candy the old fashioned way, by dropping it in water and observing what stage it is in. Usually I use a candy thermometer but I also check the candy the old way. To do this you should drop a little of the candy mixture into cold water and see what it feels and looks like when to you take it out of the water with your fingers. If it is at the hard crack stage it should form strings (or small blobs, it doesn't always form strings in my experience) when it gets into the water and it should be hard to the touch; Also, when you taste it it should be brittle and not stick to your teeth (i.e. it shouldn't be chewy at all). If you want to know how to tell the other stages you can search online, but any older cookbook should also have that information.

Enjoy your candy making!

English Toffee (From Taste of Home Magazine)
2 cups Butter and a little additional butter for the pan
2 cups Sugar
1 cup Pecans or Almonds (sliced or crushed)
3/4 cup Milk Chocolate Chips
toffee when it first started boiling
Butter a 15x10 inch pan and set aside. In a medium sized saucepan over medium-low heat bring butter and sugar to a boil while stirring constantly. Once mixture is boiling, cover and cook for 2-3 minutes. Uncover and begin stirring again until mixture reaches 300 degrees (hard-crack stage) and turns golden brown. When the toffee gets close to this point it will have cooked down a far amount and will resemble a very thick syrup and it will pull away from the sides of the pan.

Pour the mixture into the buttered 15x10 inch pan and spread out evenly. Sprinkle nuts immediately over the toffee and press in with you fingers then sprinkle the chocolate chips on top. Once chips have softened you may spread them around a bit if you wish.

Let toffee cool in the refrigerator for about 2 hours then break into pieces.

This recipe makes about 2 1/2 pounds of candy.

Soft Molasses Cookies

These cookies are just the greatest! They are soft and chewy and the spice is mild but warm. They are like biting into a cool fall day. Some people think they taste kind of like pumpkin pie because of the spice, I don't, but that has been a common reaction from people who have tried these. The other reaction is to go "yum!" XD

Happy holiday baking!

Soft Molasses Cookies (From Country Woman Magazine)
1 cup Butter softened
1 1/2 cups Sugar
1/2 cup Molasses
2 Eggs
4 cups Flour
1/2 teaspoon Salt
2 1/4 teaspoons Baking Soda
2 1/4 teaspoons Ground Ginger
2 teaspoons Ground Cinnamon
1 1/2 teaspoon Ground Cloves


In a large mixing bowl, cream together butter, shortening and sugar until light-colored and fluffy. Beat in molasses and eggs; set mixture aside.

In another large bowl, combine flour, salt, baking soda, ginger, cloves and cinnamon. Blend thoroughly with wire whisk.

Gradually mix flour mixture into creamed ingredients until dough is blended and smooth.

Roll dough into 1½ in. balls. Dip tops in granulated sugar; place 2½ in. apart on greased cookie sheet. Flatten slightly with a fork if you want larger cookies. 

Bake at 350° for 10 minutes. Do not overbake, I can't stress this point enough as these cookies are very easy to overbake. Even if they seem under done I would recommend taking them out of the oven, because they are supposed to be pretty soft and a little chewy.

Store in tightly covered container or freeze. (They freeze beautifully).